• Weddings
  • Engagements
  • Headshots
  • Maternity
  • Family
  • Food & Drink
  • Personal & Travel
  • Events
  • About
  • Contact
  • FRAME2TABLE
Menu

Snap Avenue Photography

  • Weddings
  • Engagements
  • Headshots
  • Maternity
  • Family
  • Food & Drink
  • Personal & Travel
  • Events
  • About
  • Contact
  • FRAME2TABLE
×

FRAME2TABLE

Welcome to Frame2table - a tiny corner of the internet where my husband and I share all of our favorite recipes. He cooks, I capture (and eat of course!)

RECIPE SEARCH HERE:

FEATURED RECIPES
meatsauce-16.jpg
Sunday Night Bolognese
spicysausagetortellini-3.jpg
Cheese Tortellini with Spicy Sausage Cream Sauce
beefempanadas-11.jpg
Mini Beef Empanadas
Scallop-5.jpg
Pan Seared Scallops with Parmesan Risotto and Lobster Cream Sauce
chickenpadthai-2.jpg
Chicken Pad Thai
honeychicken&pickles-2.jpg
Beer Battered Honey Chicken and Pickle Sandwich
edamamehummus-5.jpg
Edamame Hummus
shakshuka-62.jpg
Shakshuka
lemonandricottapancakes-3.jpg
Lemon and Ricotta Pancakes
homemade-carrot-cake-5.jpg
Homemade Carrot Cake with Cream Cheese Frosting
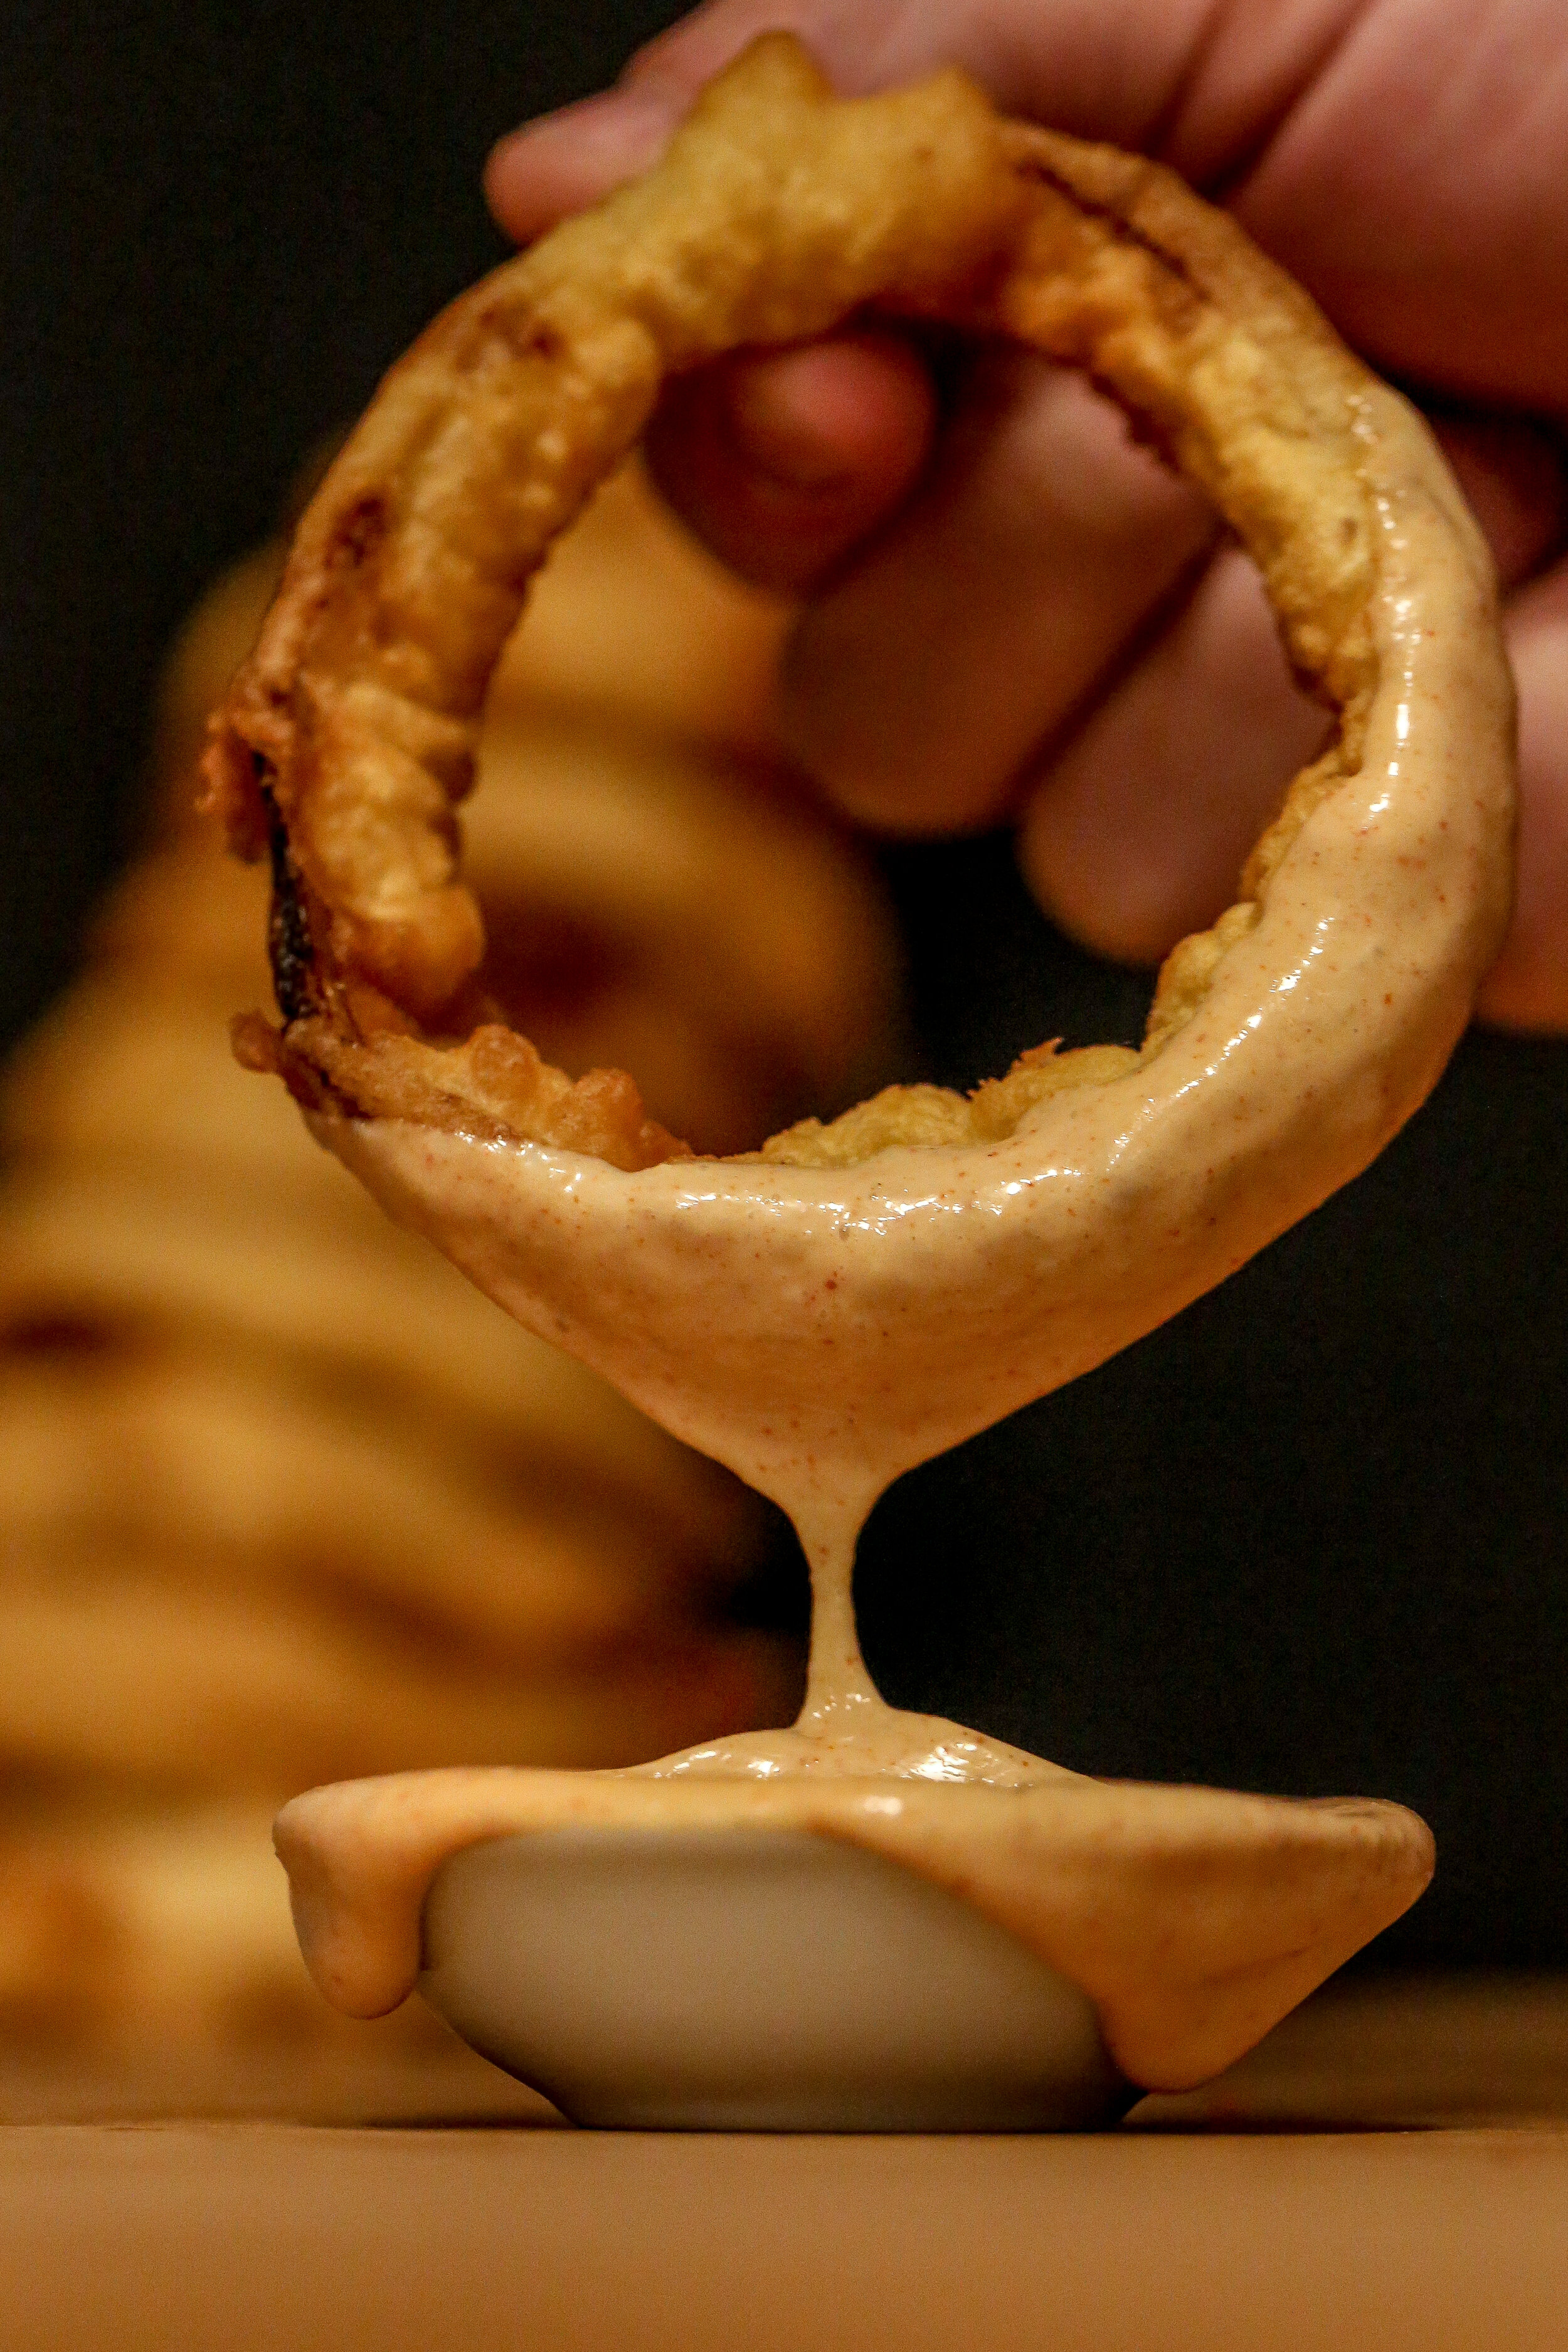
onion rings-4.jpg
Beer Battered Onion Rings with Shake Shack Dipping Sauce
veggieloadedturkeychili-2.jpg
Veggie Loaded Turkey Chili
Screen Shot 2021-01-15 at 5.55.54 PM.png
St Louis Style Pizza
artichoke-pizza-9.jpg
Spinach and Artichoke Pizza
FEATURED COCKTAILS
The Ultimate Bloody Mary
Nov 20, 2020
The Ultimate Bloody Mary
Nov 20, 2020
Nov 20, 2020
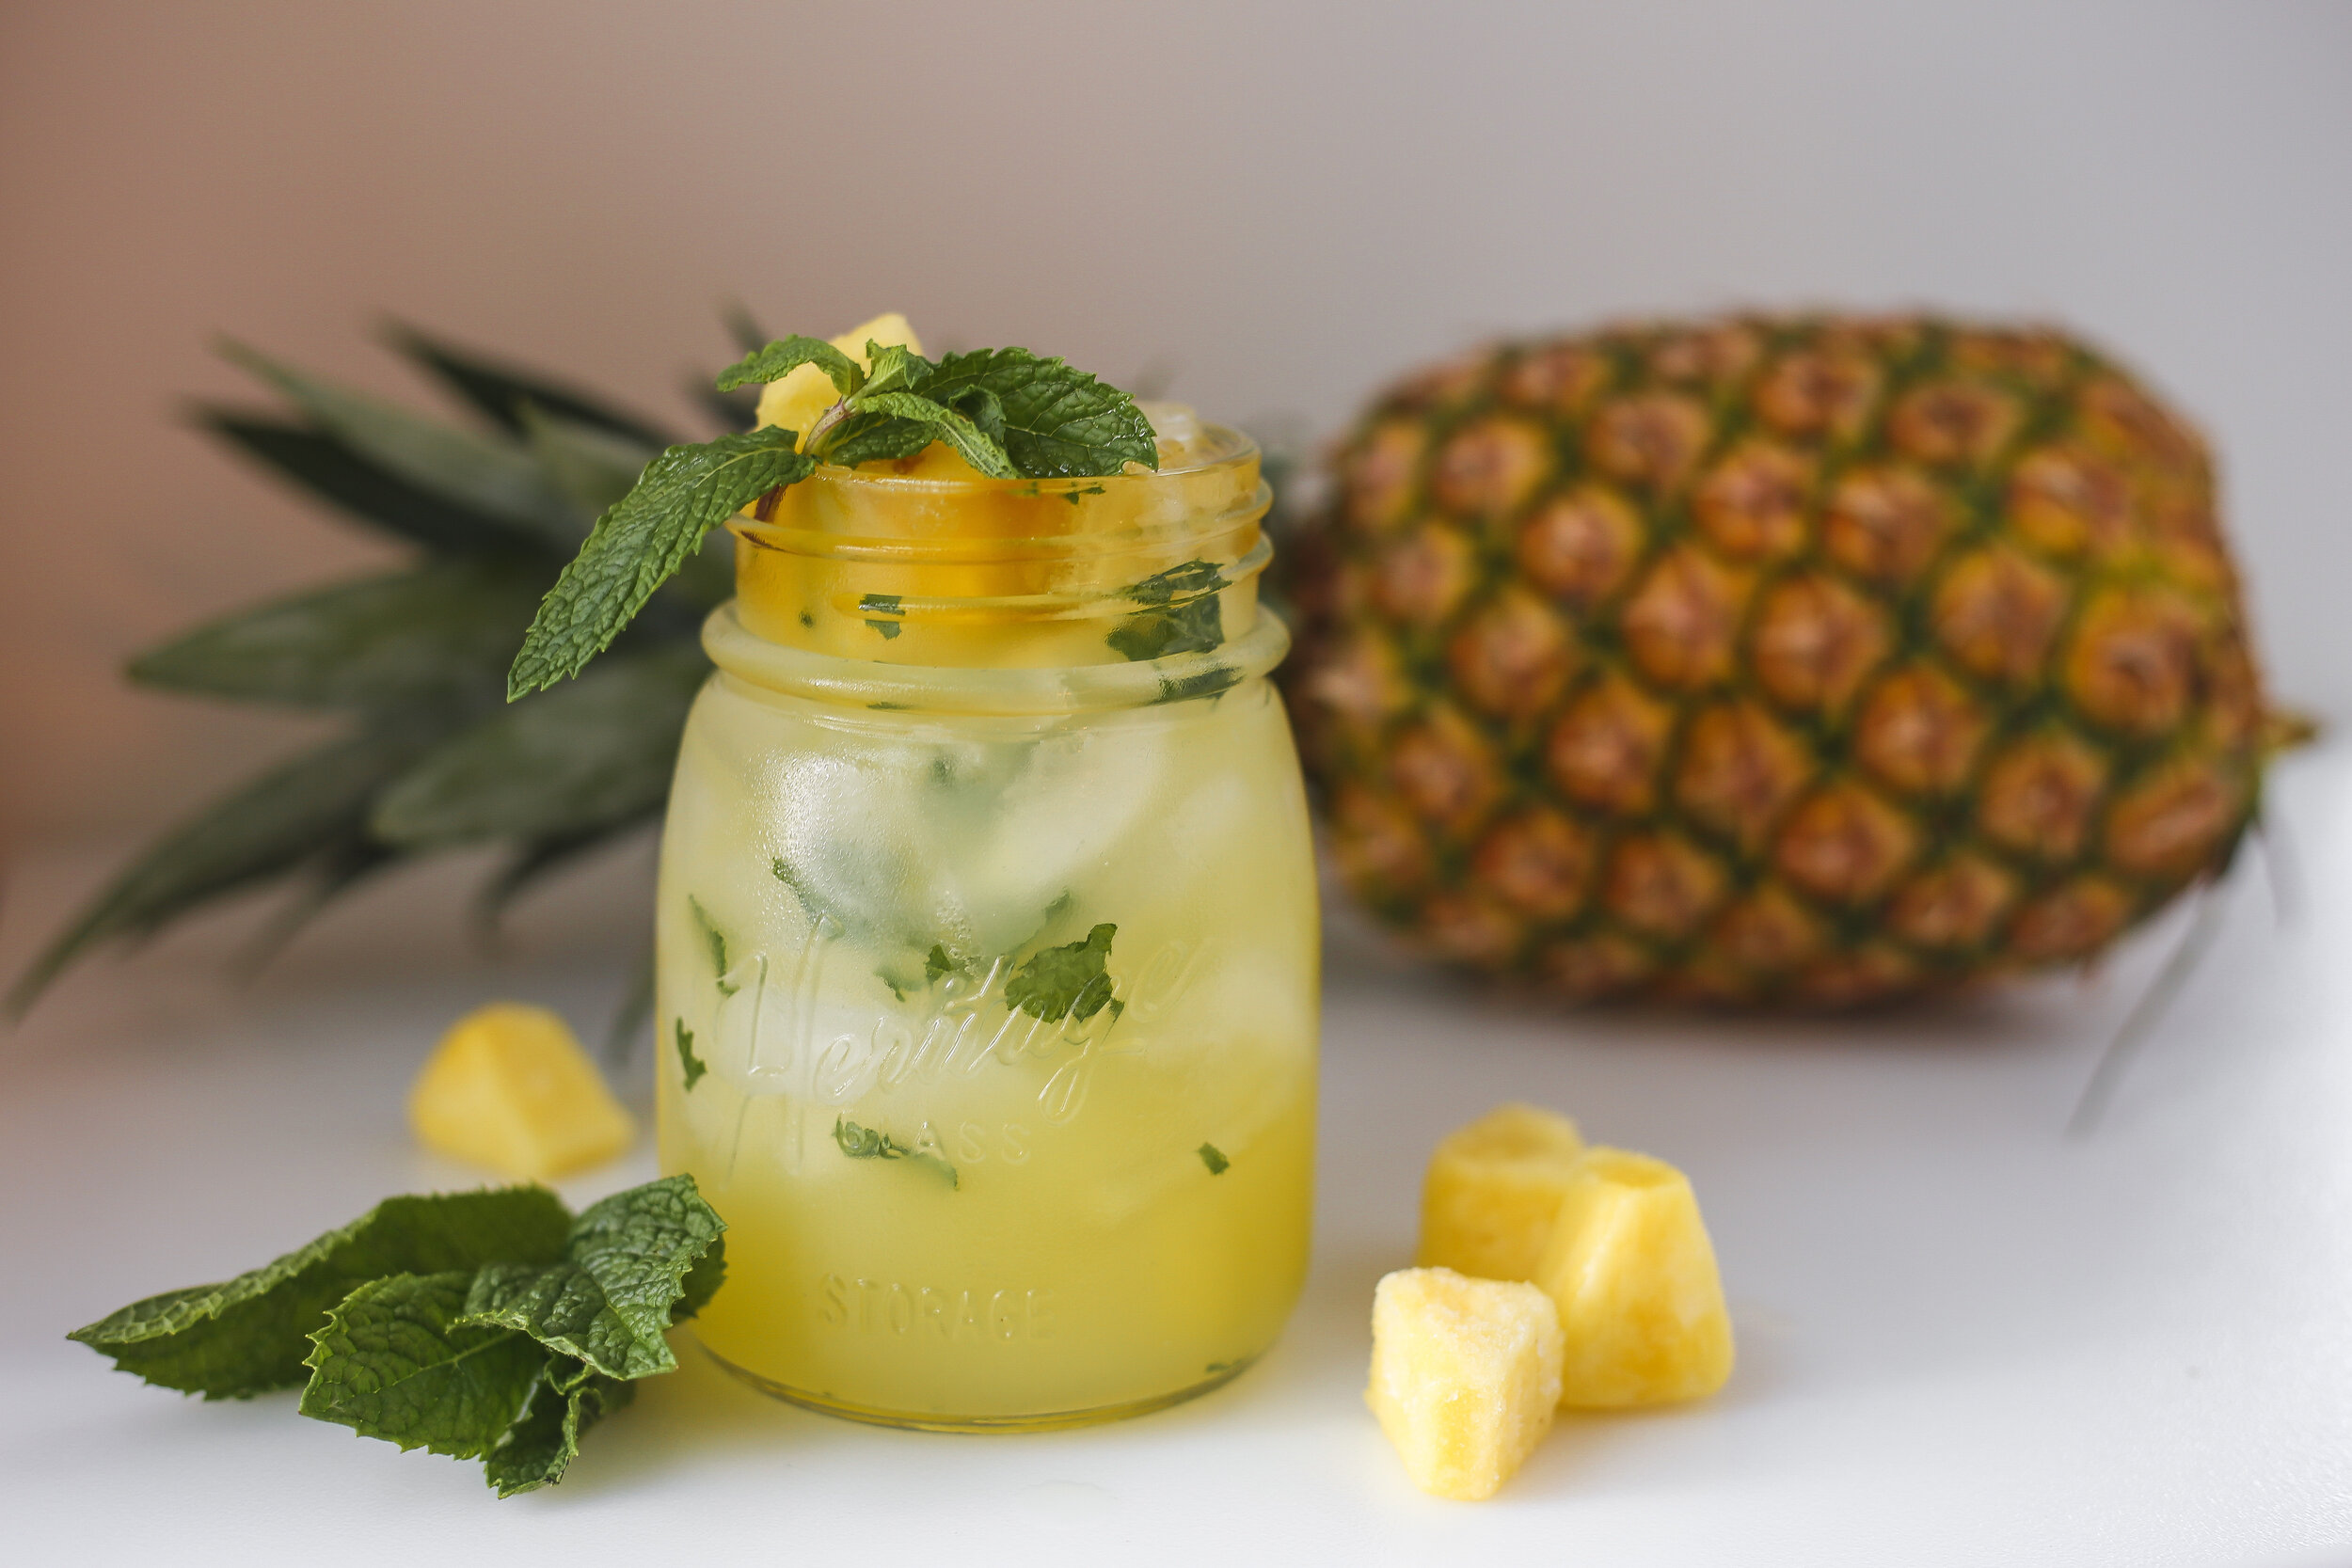
PineapplePerfection-2.jpg
Jun 4, 2020
Pineapple Perfection
Jun 4, 2020
Jun 4, 2020
The Greenhouse
May 5, 2020
The Greenhouse
May 5, 2020
May 5, 2020
Grapefruit Margarita
Apr 16, 2020
Grapefruit Margarita
Apr 16, 2020
Apr 16, 2020
Boozy Frozen Hot Chocolate
Dec 14, 2019
Boozy Frozen Hot Chocolate
Dec 14, 2019
Dec 14, 2019
strangerthingscocktail-6.jpg
Oct 26, 2019
The Stranger Thing
Oct 26, 2019
Oct 26, 2019
meatsauce-16.jpg

Sunday Night Bolognese

Krista Wright November 20, 2020

INGREDIENTS

  • 1 tbsp olive seed oil

  • 1/4 onion (diced)

  • 2 cloves garlic (minced)

  • 16 oz ground beef (80% lean)

  • 1/2 tsp smoked paprika

  • 1.5 tablespoon salt

  • 1 tablespoon pepper

  • 3/4 cup red wine

  • 1 (28 oz can) crushed tomatoes

  • 3 tablespoons brown sugar

  • 1 teaspoon oregano

  • 8 oz bag of paparadelle ( or your favorite pasta!)

  • Grated parmesan cheese for topping

  • Fresh basil for topping (optional)

Prep time: 10 mins Cook time: 45 mins Total: 55 mins

Serving Size: 3-4


Directions:

  1. In a large sauce pan over medium heat, add oil followed by the onion. Let cook for 5 mins or until onion become translucent

  2. Stir in minced garlic and let cook for another 5 mins

  3. Increase heat to medium high and add ground beef. Season with paprika, salt, and pepper. Actively stirring, cook meat for 4-5 mins

  4. Add red wine, stir and let cook for 3 mins

  5. Reduce heat to medium then add crushed tomatoes and brown sugar. Mix throughly and let simmer for 10 mins

  6. Reduce heat to medium/low and add oregano. Let cook for 15

  7. In the meantime, bring a medium pot of water to a boil and cook up pasta

  8. In a large serving bowl, add cooked pasta and top with bolognese followed by parmesan and basil.

In Dinner Recipes Tags Pasta, bolognese, italian
spicysausagetortellini-3.jpg

Cheese Tortellini with Spicy Sausage Cream Sauce

Krista Wright September 6, 2020

INGREDIENTS

  • 1/2 onion (diced)

  • 2 gloves garlic (minced)

  • 1/2 to 1 lb spicy sausage crumbles

  • 1/4 cup white wine

  • 2/3 cup half and half

  • 1 2/3 cup milk

  • 1 tsp salt

  • 1/2 tsp pepper

  • 1/4 cup corn

  • 1/4 cup zucchini (diced)

  • 1/2 cup cherry tomatoes (diced)

  • 1 tsp oregano

  • dash of cayenne pepper to top (optional)

INSTRUCTIONS

  1. Put a pot of water on the stove over medium heat to boil for pasta.

  2. Add olive oil to a medium sauce pan over medium heat

  3. Add onions and cook for 5-10 mins. Add garlic and stir

  4. Turn up heat to med/high and add in sausage. Cook for 5 mins or until meat has browned. Reduce heat to low and cook for addition 5 mins. Carefully drain excess fat if needed

  5. Stir in white wine and cook for 2-3 mins. Add salt and pepper

  6. Gradually add in half and half and stirring well to be sure it doesn’t clump or burn. Then stir in milk gradually and cook for about 15 mins. Don’t forget to stir!

  7. In the boiling pot of water, add and cook tortellini. Strain and set aside.

  8. After 15 mins, add corn, zucchini, tomatoes, and oregano to the cream mixture. Cook for additional 5 mins then toss in cooked tortellini. Enjoy!


In Dinner Recipes Tags Pasta, italian, spicy sausage tortellini
beefempanadas-11.jpg

Mini Beef Empanadas

Krista Wright September 6, 2020

INGREDIENTS

FOR THE DOUGH:

  • 1 cup boiling water

  • 4 tbsp butter (plus more for brushing tops)

  • 1 tsp salt

  • 3 cups flour

FOR THE FILLING:

  • 1 tbsp vegetable oil

  • 1 medium onion

  • 2 cloves garlic

  • 1 lb. ground beef

  • 1/4 cup of corn

  • 1/4 cup roasted red peppers

  • 1 tsp smoked paprika

  • 1/2 tsp cumin

  • 1/8 tsp cayenne pepper

  • 1 tsp salt

  • 1/2 tsp pepper

  • 1 tbsp oregano

  • 2 tbsp tomato paste

  • 1/4 cup chicken or vegetable stock

  • 1 cup shredded cheddar cheese (or your favorite type)

INSTRUCTIONS:

  1. To create the dough - add 1 cups boiling water, 4 tablespoons butter, and 1tbsp salt into a large mixing bowl. Stir until melted and let cool until room temperature

  2. Once mixture is cooled, stir in 3 cups flour with a wooden spoon. Remove from bowl, place on a floured board, and kneed until firm. If the mixture is sticky, gradually add more flour. Wrap and refrigerate for at least 1 hour.

  3. Preheat the oven to 375

  4. To begin creating the filling, in a large skillet on medium/high heat add vegetable oil

  5. Add onions and cook for 5 mins . Add garlic and cook/stir for another 2 mins

  6. Add beef to the skillet. Using a wooden spoon, break up the beef into crumbles and fry until brown.

  7. Take skillet off the heat and carefully drain any fat (if needed)

  8. Reduce heat to medium/low and add spices, corn, and pepper. Mix well and cook for 2-3 mins

  9. Add tomato paste and broth - bring to a low simmer (on medium heat) to cook down liquid. Turn down heat and set aside

  10. After 1 hour, remove cooled dough from from refridgerator.

  11. FOLLOW PHOTO STEPS BELOW TO COMPLETE RECIPE:

STEP 1: Remove cooled dough from fridge.

STEP 2: Roll out the dough on floured board (I cut my dough into smaller sections to roll out, cut, and repeat)

STEP 3: Cut out circles using a round cookie cutter (about 4 inches round or more)

The dough will make between 15-20 empanadas depending on the size of the cutter

STEP 4: Add filling and cheese to the dough

STEP 5: Brush the edges of the dough with melted butter (or water) to help seal them shut

STEP 6: Fold over the top of the dough and push down using a fork to create the ridges

STEP 7: Brush the tops with melted butter

STEP 8: Place all filled empanadas on a baking sheet, put into the oven and cook for about 20 mins or until golden brown

Scallop-5.jpg

Pan Seared Scallops with Parmesan Risotto and Lobster Cream Sauce

Krista Wright August 10, 2020

INGREDIENTS

Risotto

  • 1 1/2 cups of arborio rice

  • 4 cups chicken stock OR 2 cups chicken broth with 2 cups water

  • 1/2 cup white wine

  • 1 cup grated parmesan cheese

  • 3 tbsp butter

  • 1/2 cup cooked peas

  • 1/2 cup cooked corn

Scallops

  • 8 large sea scallops

  • grape seed oil (olive oil can be used as substitute)


Lobster sauce 

  • 1/4 yellow onion

  • 3 cloves garlic minced

  • 1/2 large carrot diced

  • 1 stalk celery diced

  • 3 tbsp butter

  • 1 tablespoon olive oil

  • 1 tbsp all purpose flour

  • 1/3 cup cognac

  • 1 medium lobster tail

  • 1 cup chicken stock

  • 2 tsp salt

  • 1/2 tsp paprika

  • pinch of cheyenne pepper

  • 3 tbsp tomato paste

  • 3 tbsp half and half

INSTRUCTIONS

  1. Preheat oven to 350

  2. In a Dutch oven combine arborio rice with chicken stock

  3. Cover and place in over for 45 mins

  4. To begin making the sauce, heat sauce pan on medium

  5. Add butter and olive oil

  6. Add onion cook for 3-4 mins or until translucent

  7. Add garlic celery and carrots and continue to cook for about 5 mins until veggie soften

  8. Add and stir in flour and cognac

  9. Add entire lobster tail (with shell) to the broth. We recommend cutting the tail in half

  10. Add 1 cup chicken stock

  11. Remove scallops from fridge (about 30 mins before cooking them) and carefully separate them place on a plate

  12. Place plate of scallops uncovered back into the fridge.

  13. Now bring the lobster sauce to a boil over medium heat. Once boiling reduce to low

  14. Add salt, paprika, Cheyenne pepper, and tomato paste. Mix in well.

  15. Let sauce cook over low heat for 20 mins to thicken

  16. Remove lobster tail and place on cutting board. Let cool for 1-2 mins

  17. Remove shell from lobster tail and cut meat into small bits.

  18. Add lobster meat bits back into sauce and stir well. Cook for additional 10 mins on low.

  19. Now it’s time to quickly sear the scallops. Bring a skillet to high heat (really high) and add your grapeseed oil. Once the oil is sizzling (flick a single drop of water into the skillet to test), gently place each scallops into the pan (using tongs is highly recommended). Let each side cook for 3-4 minutes. There should be a beautiful golden/brown layer on the top and bottom. Set aside and tent with aluminum foil.

  20. Back to the lobster sauce. Add half and half. Mix in and let cook for another 3 minutes. As the lobster sauce is finishing - it’s time to take care of the risotto

  21. Remove the risotto from the oven and place the Dutch oven on a burner on low heat. Add the remaining cup of chicken stock, the Parmesan, wine, butter, salt, and pepper, and stir vigorously for 2 to 3 minutes, until the rice is thick and creamy. Add the peas and corn

  22. Plate with risotto on the bottom, lobster sauce generously drizzled over the risotto and top with 4-5 seared scallops.

chickenpadthai-2.jpg

Chicken Pad Thai

Krista Wright July 16, 2020

INGREDIENTS

  • Pad Thai noodles

  • 3 tbsp olive oil

  • 2 cloves garlic

  • 2 boneless skinless chicken breasts (cut into thin slices)

  • 2 eggs

  • 1 cup matchstick carrots

  • 3/4 cup bean sprouts (optional)

  • 1 green onion (chopped)

  • lime wedges for garnish

  • cilantro for garnish

For Sauce:

  • 1/2 cup brown sugar

  • 1/3 cup soy sauce

  • 2 tbsp creamy peanut butter

  • 1 tbsp fish sauce

  • 1 tbsp rice vinegar

  • 2 tbsp sweet chili sauce

  • juice from 1/2 lime

INSTRUCTIONS

  1. Bring a large pot of water (6 cups) to a boil*

  2. In a wok on medium heat, add olive oil and garlic, saute for 1 min.

  3. Add chicken and cook 5-6 mins or until chicken is fully cooked through

  4. In a separate pan, add two eggs, scramble, and cook for 3 mins

  5. Add cooked scrambled eggs, carrots, and bean sprouts to wok, turn heat to low.

  6. *Once water is boiling from pot, add Pad Thai noodles and cook for about 6 mins or until soft. Strain, and run under cold water. Add noodles to wok.

  7. In a mixing bowl, whisk together all sauce ingredients (brown sugar, soy sauce, peanut butter, fish sauce, rice vinegar, and sweet chili sauce)

  8. Pour sauce mix into the wok and stir. Add in green onions.

  9. Let cook for 3 mins

  10. Plate and garnish with cilantro and lime wedge (and crushed peanuts if you'd like!)

honeychicken&pickles-2.jpg

Beer Battered Honey Chicken and Pickle Sandwich

Krista Wright June 10, 2020

INGREDIENTS (makes 2 sandwiches) 

For Quick Pickles: 

  • 1/3 cup vinegar

  • 1/3 cup sugar

  • 1-2 tsp salt

  • 1 tsp mustard seeds

  • 2 cups thin sliced cucumbers

For Beer Battered Chicken & Sandwich:

  • 1 Cup Beer (we used Anchor California GO WEST IPA)

  • 1 1/4 cup all purpose flour

  • 1 tsp salt

  • vegetable oil to fry

  • 2 boneless skinless chicken breasts

  • 2-4 tbsp honey

  • 2 fresh sandwich buns 

  1. In a bowl, combine vinegar, sugar, salt, and mustard seeds.

  2. Add cucumber slices to the bowl and mix well

  3. Move mixture from bowl into a mason jar (or air tight container) and give a good shake. Set aside in the refridgerator.

  4. Fill a large pot (half way) with vegetable oil and turn on med/low heat

  5. In a large bowl, begin preparing batter by combining beer, 1 cup flour, and 1 tsp salt

  6. In a plastic bag, add 1/4 cup of flour

  7. Add chicken to plastic bag and shake to coat with flour

  8. Once oil is hot, remove chicken from bag, dip into beer batter, and then place carefully into the heated oil (using tongs or frying basket)

  9. Turn occasionally and fry until golden brown (about 8-12 mins)

  10. Remove from oil and place onto paper towel-lined plate

  11. Once dry, use a basting brush to coat the chicken in a layer of honey

  12. Toast 2 sandwich buns to desired amount

  13. Plate buns, chicken and pickles. Drizzle with extra honey if desired

  14. Enjoy!

edamamehummus-5.jpg

Edamame Hummus

Krista Wright June 3, 2020

INGREDIENTS

  • 1 1/2 cups shelled edamame

  • 1/4 cup cilantro

  • 2 tbsp olive oil

  • 1 tsp sesame oil

  • juice of 1 lemon

  • 2 garlic cloves

  • 1/2 tsp cumin

  • 1 tsp salt

  • 1/2 tsp pepper

  • 1/3 cup water

  • 1/3 cup tahini

  • smoked paprika, cilantro, edamame, sesame seeds, salt and pepper topping is optional

DIRECTIONS

  1. If using frozen edamame, cook as instructed and let cool for at least 10 mins

  2. Add all ingredients to a food processor or large blender. Mix on medium/high speed for about 5 mins or until completely smooth

  3. For best results - put edamame hummus into a container and refrigerate for at least 1 hour

shakshuka-62.jpg

Shakshuka

Krista Wright May 13, 2020

INGREDIENTS

  • 2 tbsp grape seed oil

  • 1 large yellow onion, diced

  • 1 large red bell pepper, diced

  • 3 cloves fresh garlic, chopped

  • 1 tsp smoked paprika

  • 1 tsp cumin

  • 1/8 tsp cayenne pepper

  • 28 ounce can of unsalted crushed tomatoes

  • 1 tsp salt

  • 1/4 tsp black pepper

  • 6 large eggs

  • 1/4 cup feta cheese crumbles

  • 1 tbsp fresh chopped cilantro

  • fresh nann bread (optional)

INSTRUCTIONS

  1. Preheat oven to 375 degrees

  2. Heat up the oil in a large cast iron skillet over medium/low

  3. Add diced onions and peppers. Cook and stir occasionally for about 15 mins or until onions and pepper become soft

  4. Add garlic and cook for another 1-2 mins

  5. Stir in the smoked paprika, cumin, and cayenne pepper. Let flavors cook in for 1 min

  6. Pour in tomatoes and season with salt and pepper. Let cook for about 10 mins

  7. Using a spoon, create 6 small wells in the tomato sauce. Gently crack eggs and place into each well

  8. Place pan into oven and bake for about 8 mins or until eggs are cooked

  9. Remove from oven and top with feta and cilantro

Tags shakshuka, brunch, breakfast
lemonandricottapancakes-3.jpg

Lemon and Ricotta Pancakes

Krista Wright April 20, 2020

Ingredients

  • 2 cups all purpose flour

  • 1 and 1/2 teaspoon baking powder

  • 3/4 teaspoon baking soda

  • 1/4 cup organic cane sugar

  • 1/2 teaspoon salt

  • 2 eggs

  • 1 1/2 cup milk

  • 1 cup ricotta cheese (whole milk)

  • 1 1/2 tsp pure vanilla extract

  • 1/4 cup lemon juice

  • 2 tablespoons lemon zest

  • butter for frying pan

  • maple syrup for topping (optional)

  • powdered sugar for topping (optional)

  • fresh fruit for topping (optional)

Instructions

  1. In a large bowl combine all dry ingredients (flour, baking soda, baking powder, sugar, and salt)

  2. In a separate bowl whisk eggs - then add milk, ricotta, vanilla, lemon juice, and lemon zest. Combine well using a rubber spatula.

  3. Slowly fold the wet ingredients into the dry. Stir well until combined.

  4. Put a large frying pan over medium/high heat. Once hot, add butter to cover bottom of pan.

  5. To create perfectly sized pancake circles, use a measuring cup to scoop mixture, we use 1/4 cup. One at a time carefully pour scoops of batter onto the frying pan.

  6. Let each pancake cook for about 2-3 mins (or until batter bubbles). Flip and cook other side until golden brown

  7. Plate and top with blueberries, maple syrup, and powdered sugar.

homemade-carrot-cake-5.jpg

Homemade Carrot Cake with Cream Cheese Frosting

Krista Wright March 12, 2020

INGREDIENTS

For Cake-

  • 1 cup all purpose flour

  • 1 tsp baking powder

  • 1 tsp baking soda

  • 1 tsp ground cinnamon

  • 1/2 tsp salt

  • 1 1/2 cup grated carrots (we used our food processor but you can also use a cheese grater)

  • 1/2 cup raisins

  • 1/2 cup canola oil

  • 2 large eggs

For Frosting-

  • 4 ounces of cream cheese (at room temp)

  • 4 tbsp unsalted butter (at room temp)

  • 2 cups confectioner sugar

  • 1/2 tbsp fresh lemon juice

  • 1/4 cup shredded coconut

INSTRUCTIONS:

For Cake-

  1. Preheat the oven to 325 degrees

  2. Butter and flour a 9 by 12 cake pan

  3. In a large bowl, whisk together the flour, baking powder, baking soda, cinnamon, and salt

  4. In a second large bowl, whisk together the sugar and oil until smooth.

  5. Next begin adding the eggs (one by one) to the oil/sugar mixture and whisk

  6. Once smooth, add in the first bowl of dry ingredients (flour, baking powder, etc.) mix together with a rubber spatula

  7. Add in the carrots and raisins to the mixture and stir evenly

  8. Pour the batter into the cake pan and bake for 40 mins or until cooked all the way through (You can test the cake to make sure it is done by sticking a knife into the center of the cake, if it comes out clean it is finished!)

  9. Once the cake is finished baking, let it cool for 5-10 mins before serving (you can also transfer it from the pan to a cooling rack if you plan to serve it from a separate tray)

  10. Cut cake into 2 by 2 inch slices

For Frosting-

  1. Beat together the cream cheese and butter until creamy and smooth.

  2. Gradually add sugar and beat until smooth

  3. Next add in the fresh lemon juice and stir

  4. The frosting should look velvety and creamy

  5. Finally, add in the coconut and stir evenly

* For our carrot cake we did a double layer of cake and frosting but you can serve and eat however you want!

Older →
 

Powered by Squarespace